Adobe Premiere is a powerful and useful video editing software for both professional and novice video editors. Dozens of great video editing features are offered. Maybe you've come to Premiere Pro from Final Cut Pro or you're a former Premiere editor looking to take advantage of the new features in CS6, in this post, I'll break done 6 most useful tips geared toward the FCP editors which will help you run the program faster and do the video editing more efficiently with the nuances and great features in Premiere Pro!

1. Change the default settings
You can save some time on video editing by changing two default settings: Scale Media to Project Size and Default Picture Length. You can go to Edit >Preferences > General to find the two settings. Scale Media to Project Size means any photo or video will be scaled down to the project size. This setting will save you a lot of time especially when you are mixing a lot of SD and HD video and photos. Default Picture Length originally is set at 150 frames or five seconds of footage. You can change it to any set mount so that you don't need to adjust every photo you import. When you finished the settings changing, hit "OK" to save.
2. Workspace shortcut
Creating workspace shortcuts will speed up your editing work. My rule of thumb is to make a shortcut for anything you use on a daily basis. Here's a general guide to customizing shortcuts in Adobe Premiere Pro that's worth a look. A few of the workspace shortcuts I use religiously: Control + U – Reset my current layout when it gets disorganized and messy Command + 1 – Audio Workspace Command + 2 – Color Correction Workspace Command + 3 – Editing Workspace
3. Keep your project more organized with "Bins"
You can click the "Folder" icon in the "Project" window to create a new folder to store video clips or other things. Store them in many different folders rather than only one so that you can find what you want more quickly. Create bins for storing separate audio, video, photo, etc. This Adobe Premiere tip will definitely makes your project more organized and can save time for editing.
4. Quick Render
Most of the effects and videos render in real time with Adobe Premiere, but to see a preview of full effects, titles and transitions, simply press "Enter" on the keyboard. This will render the project and automatically play a preview in the "Monitor" window.
5. Format Goes First
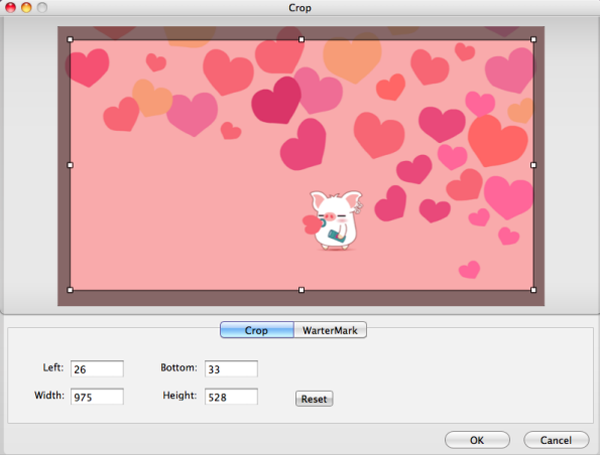
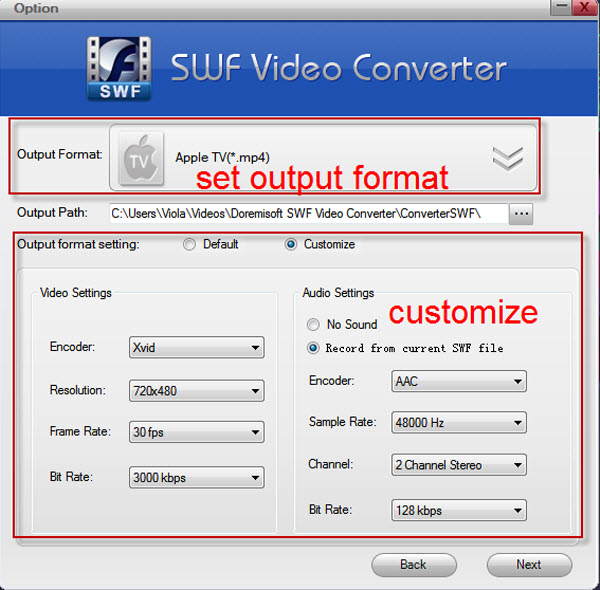
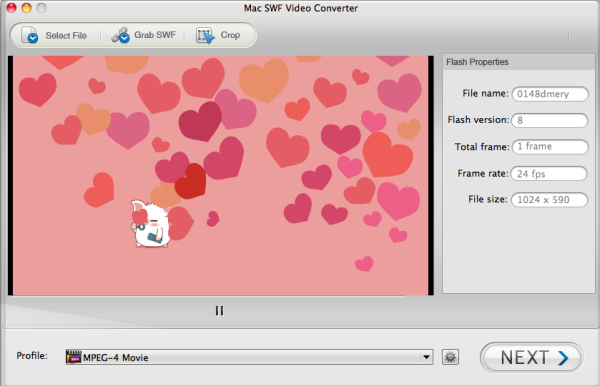
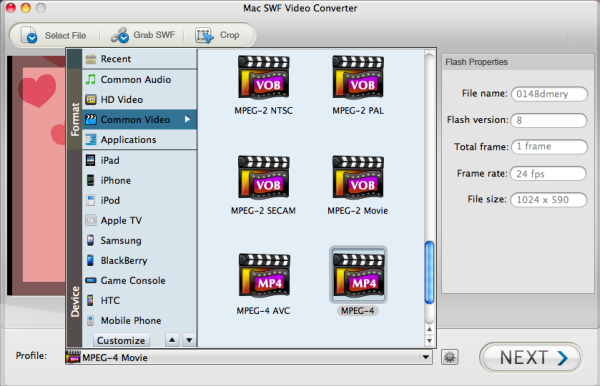
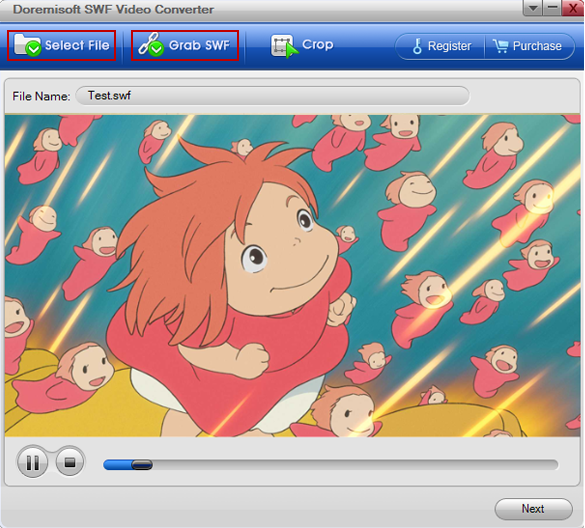
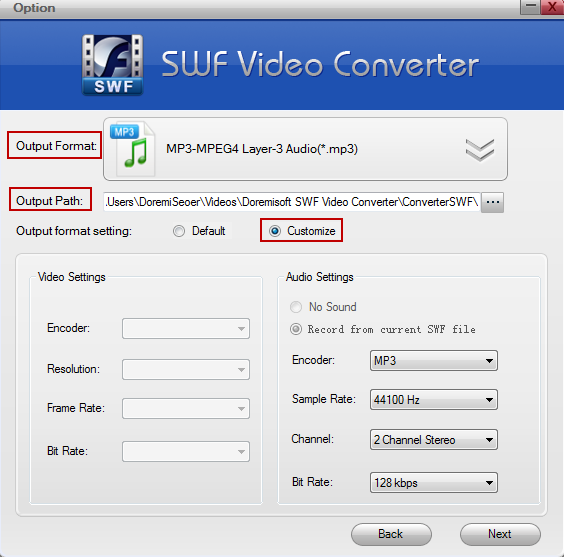
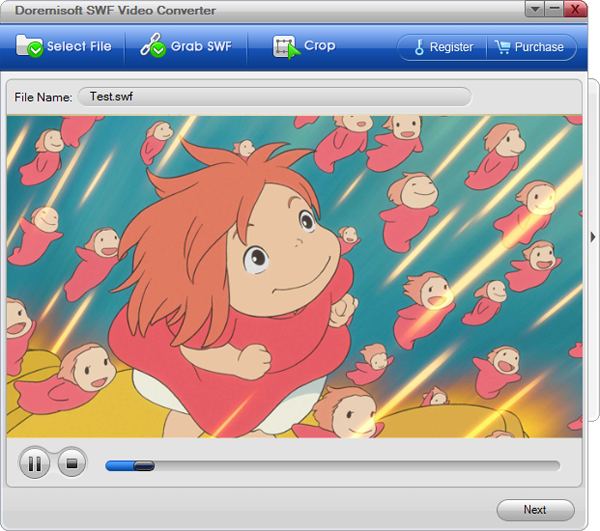
Most of the Editors have one common problem that they don't support all video formats. For example, SWF files are neither supported by Premiere, nor Vegas and FCP, so convert that video format into something suitable, such as SWF to Sony Vegas, SWF to FCP, SWF to Adobe Premiere, etc. for editing and final output.
6. Creating markers
To create a marker in a Premiere Pro sequence, use the shortcut "M". You can see your markers in the markers Panel, change their length and add comments (very useful for adding editing or producers notes). To create a marker on a clip, load the clip into the Source Window & press "M". The Marker Panel with show sequence markers if the Sequence is selected, or clip markers if the Source is selected. Selecting the Marker in the Marker Panel will take you to the marker in the clip or sequence – a big Premiere Pro timesaver!
Referral links:
SWF Video onverter
Convert swf to AVI
Sony Vegas to Flash
These are the most useful tips for Premiere beginners. I and my followers have tested these tips for thousands of times. Hope they will help you improve your Premiere operations speed as well. If you have any ideas to share with us, follow us on Facebook and Twitter feeds or the comments below.


